Learning how to use a seam ripper is one of those small sewing skills that makes thrift flips, mending, and clothing alterations feel much less intimidating. This inexpensive tool removes stitches more neatly than scissors, especially when you need to open a hem, replace a zipper, or undo a seam that went sideways. No such thing as a stupid question here — let's walk through it.
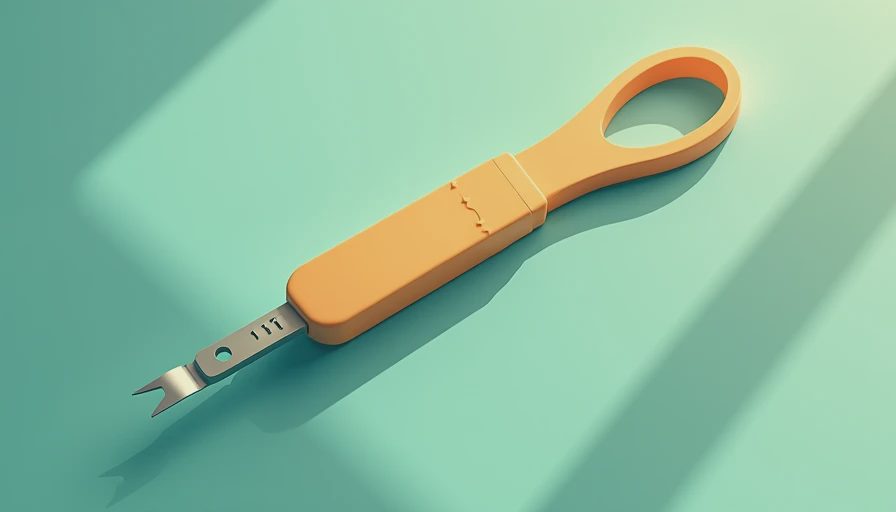
A seam ripper has two pointed ends: one sharp point and one end with a small ball. Between them is a curved blade protected by the ball. The point slides under thread, while the blade cuts it. Some models, such as the Clover Seam Ripper, have a comfortable handle and a cap for protecting the tip. Basic versions often cost only $2 to $8 at a fabric store, so you do not need an expensive tool to get started.
What a seam ripper actually does
A seam ripper cuts thread, not fabric. That distinction matters. When you are figuring out how to use a seam ripper, think of it as a tiny, controlled blade that frees fabric from stitches one at a time. It is not a miniature pair of scissors, and it should not be dragged through a long line of thread with force.
Before opening anything, identify the stitches you want to remove. Look at both sides of the garment. On a pair of jeans, for example, you might see a line of topstitching on the outside and a bobbin thread on the inside. Removing the visible thread alone may not release the seam, so inspect the construction before cutting.
Work on a flat table under bright light. A white towel beneath a dark garment, or a dark towel beneath pale fabric, makes loose threads easier to see. If the fabric is vintage, delicate, stretchy, or valuable, test your technique on an inside seam or scrap first.
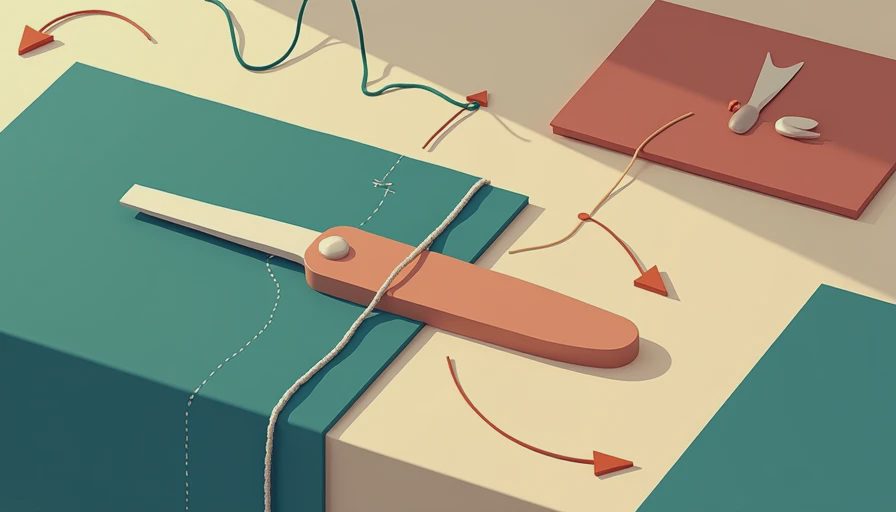
How to use a seam ripper step by step
- Turn the garment inside out when possible. The thread is often easier to see on the inside, and a small mistake there is less visible.
- Hold the fabric so the seam is slightly open but not stretched tight. Stretching can pull the fabric against the blade and increase the chance of a snag.
- Slide the pointed end beneath one stitch. Keep the curved blade facing the thread, not the fabric. The ball-shaped tip should rest against the cloth as a guard.
- Push gently until the blade reaches the thread. A light rocking motion is usually enough to cut it. Do not jab downward.
- Cut every third or fourth stitch along a short section. For a standard seam, cutting several stitches on one side and then pulling the thread from the other side is faster than cutting every stitch.
- Pull away the loosened thread with your fingers or tweezers. If the thread resists, stop and cut another stitch instead of yanking.
- Brush away thread pieces and inspect the fabric before continuing. This pause helps you catch a snag or accidentally cut thread before the opening becomes larger than planned.
For a beginner, short sections are easier to control. Open two or three inches, remove the thread, and reassess. The goal is controlled progress, not speed.
Opening hems, seams, and waistbands
A hem is usually the friendliest place to practice how to use a seam ripper. Start at a side seam, where a tiny mark is less noticeable. Cut a few stitches, then gently pull the folded hem away from the garment. If the fold does not release, there may be a second row of stitching or an adhesive hem tape inside.
For a side seam, remove the stitching from the inside and support the fabric with your free hand. On lightweight rayon or silk, take out one stitch at a time. On sturdy cotton or denim, you can cut every few stitches, but avoid pressing hard enough to dent or split the cloth.
Waistbands require extra patience because they may include topstitching, interfacing, belt loops, and multiple seam layers. Photograph the garment before you begin. Those pictures can show where each loop belongs and how the waistband was folded. Place removed pieces in a small dish rather than letting them disappear under your sewing machine.
Zippers and topstitching need a slower approach
Replacing a zipper is a common reason to learn how to use a seam ripper, but zipper areas deserve careful handling. First remove the topstitching, then the seam stitching underneath. Work away from the zipper teeth whenever possible; the metal or plastic teeth can catch the tool and dull the blade.
If you are opening topstitching on denim, cut the thread from the wrong side when you can. Dense topstitching may be secured with short backstitches at the beginning and end. Remove those locking stitches before trying to pull a long thread. Otherwise, the thread can bunch and distort the fabric.
When a zipper is stitched close to a pocket, collar, or lining, place a finger behind the fabric as a firm barrier. That extra layer gives the point somewhere safe to stop. A dull ripper is not automatically safer; it tends to require more pressure, which can cause a slip. Replace an inexpensive tool when its blade no longer cuts cleanly.
Common mistakes and how to fix them
The most common mistake is cutting fabric instead of thread. Here's what went wrong + how I fixed it: the fabric was pulled tight, the point was pushed too far, and a tiny nick appeared beside the seam. The fix was to stop immediately, avoid widening the hole, and stabilize the area from the inside with a small patch of lightweight fusible interfacing if the garment allowed it.
Another mistake is opening the wrong seam. Mark the intended line with removable tailor's chalk before making the first cut. If you have removed only a few stitches, stop, turn the garment right side out, and confirm the opening is where you want it. A seam ripper cannot put stitches back, but a sewing machine or hand needle can close a small accidental opening.
Do not pull thread aggressively. That can create puckering, stretch knit fabric, or pull a loop through the cloth. Cut stubborn stitches individually. For lint and tiny thread ends, use tweezers, a soft clothes brush, or a piece of sewing tape rather than scraping the surface.
A simple practice exercise
Take a scrap of woven cotton, an old pillowcase, or a thrifted shirt you no longer wear. Sew a straight line with a regular polyester thread. Then practice how to use a seam ripper by opening only two inches. Try it once from the inside and once from the outside. Notice how the fabric behaves when it is flat, loose, or stretched.
Next, sew a second line with smaller stitches. This teaches an important lesson: shorter stitches take longer to remove and need more careful handling. Try a zigzag line as well, but do not force the tool through each angle. Cut individual loops from the back where possible.
This ten-minute exercise builds hand control before you work on a favorite vintage jacket or a pair of $40 thrifted jeans. It also shows whether your tool feels comfortable. If the handle is slippery or the point catches, choose another model before working on delicate clothing.
When to use another tool
A seam ripper is ideal for thread, but it is not the answer for every job. Use sharp fabric scissors to remove a large area of excess fabric after the seam has been opened. Use embroidery scissors for trimming loose thread ends. Tweezers help lift fine threads, while a bodkin or blunt needle can tease out a thread without cutting it.
For serged seams, expect more thread and a tighter structure. Open the needle threads first, then work through the loopers carefully. If the fabric begins to unravel, stop and secure the edge with a temporary zigzag stitch or fabric clip before continuing.
The best results come from patience, good light, and a light touch. Once you know how to use a seam ripper, alterations become more reversible: you can test a shorter hem, move a pocket, or remove an outdated embellishment without treating every mistake as permanent. Keep the tool capped, store it away from children and pets, and let your next thrift flip begin with a few calm, deliberate cuts.

No notes yet — write the first one.