A dress form can make thrift flips, fitting adjustments, and handmade clothing much easier to understand. Instead of laying a jacket flat and guessing where the shoulder should sit, you can see the garment in three dimensions. If you are new to sewing, no such thing as a stupid question here — let’s walk through it. The right dress form will not replace a fitting partner or a sewing pattern, but it can become one of the most useful tools in a small sewing space.
What a dress form actually does
A dress form is a padded mannequin designed for fitting, pinning, draping, and displaying clothing. Adjustable versions use sliding panels or dials to change the bust, waist, and hip measurements. Fixed forms usually have a cleaner shape and sturdier padding, but they only match one general size.
The most important limitation is that a dress form represents a body shape, not a specific person. It will not show posture, movement, a fuller back, a lower shoulder, or the way fabric behaves when someone sits down. For that reason, use it to identify obvious problems first. A side seam twisting toward the front, a hem hanging unevenly, or a sleeve cap sitting too far back is easier to spot on a form than on a table.
A basic foam or paper-covered form can cost around $80 to $150, while adjustable sewing forms from brands such as Dritz often sit in the $150 to $300 range. Professional pinnable forms cost more. Vintage forms can be beautiful and sturdy, but inspect the stand, waist seam, and padding before buying one secondhand.
How to choose the right size and shape
Start with your high-bust, full-bust, waist, and hip measurements. Do not choose a dress form based only on your usual clothing size. Clothing sizes are inconsistent, and an adjustable form’s listed range can be optimistic. Measure yourself wearing a thin shirt, keep the tape level, and write the numbers down before shopping.
The bust shape matters just as much as the measurement. A narrow, straight form will behave differently from one with a rounded bust and defined waist. If your clothing projects often include vintage dresses, look for a form with a clear waistline and enough bust projection to support darts. For loose jackets and oversized shirts, shoulder width and upper back shape may matter more than a dramatic waist.
A form with a collapsible shoulder can help when fitting narrow-necked dresses. A hem gauge is useful for skirts, but it should not be the deciding feature because inexpensive gauges can wobble. Check the base carefully: a metal tripod is usually more stable than a lightweight plastic foot, especially when you are pulling a heavy wool coat over the form.
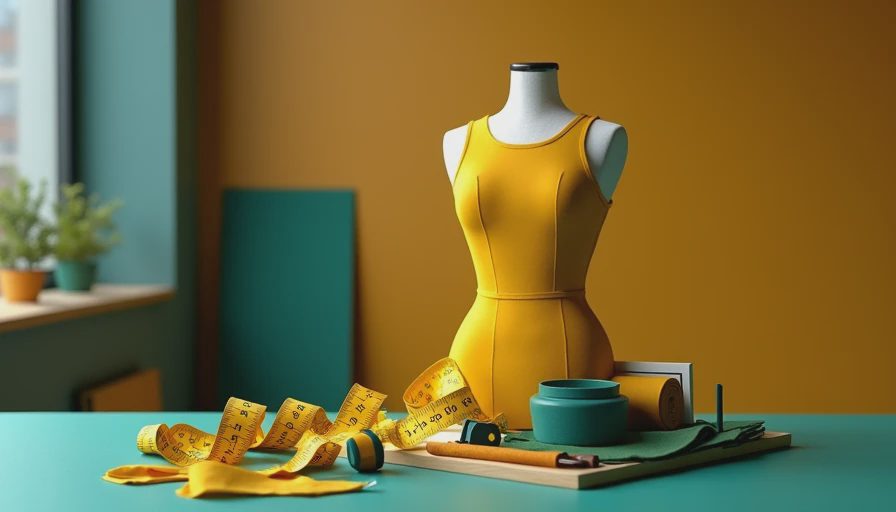
If your measurements fall between settings, choose the smaller form only when it can be padded safely. You can add batting, a fitted knit cover, or strips of cotton fleece to build out the bust, waist, or hip. You cannot easily make a form smaller without damaging its surface. That is one reason a slightly undersized form is often more workable than an oversized one.
Setting up your form for accurate fitting
Once the dress form is assembled, set its height before pinning anything. Place a tape measure from the floor to your natural waist, then adjust the form so the waistline matches that height. If you skip this step, a skirt hem may look level on the stand but dip on your body.
Make a simple cover from stretchy jersey if the surface is slippery or the printed measurement lines are distracting. Mark the center front, center back, bust line, waistline, and hip line with removable ribbon or narrow twill tape. Use a contrasting color so you can see these references through a dark garment.
Here’s what went wrong plus how I fixed it: an adjustable form once looked correct at the bust but was too narrow across the back. The garment kept pulling toward the front, so I added batting along the shoulder blades and secured it under the cover. The jacket immediately hung more naturally. Padding should be smooth and gradual; a hard lump will create a false fitting problem.
Keep the form on a stable surface while pinning. If the stand rocks, tighten the hardware or place it on a rubber mat. A form that shifts by an inch can make you remove fabric from the wrong seam.
Using it for thrifted clothing and alterations
A dress form is especially helpful when a secondhand garment is close to fitting but needs a clear plan. Start by placing the garment on the form without pinning. Look at the shoulder seams, side seams, neckline, and hem. Take photos from the front, side, and back before making changes. Those photos often reveal a diagonal drag line that is hard to see while you are wearing the garment.
For a shirt that is too loose, pin excess fabric along the side seams and transfer the adjustment to paper before sewing. For a skirt with a gaping waist, pin small, even amounts at both side seams rather than creating one deep fold. For a dress that is too long, mark the new hem with a removable fabric pen while the garment is on the stand. Then take it off before cutting.
Do not use the form to force a garment several sizes smaller. Excessive pinning can hide strain at the zipper, armhole, or hip. A better alteration might involve opening a seam, adding a side panel, or turning a long dress into a skirt. The goal is to make the garment wearable, not to win a wrestling match with it.

For draping, begin with inexpensive muslin rather than your treasured vintage fabric. Press the muslin, mark its grainline, and pin it at the center front or back. Smooth the fabric over the form without stretching it. Pin darts only after the grainline looks straight. If the muslin twists, your final fabric will probably twist too.
Buying secondhand without getting burned
When shopping for a used dress form, ask for measurements of the form itself, not just the brand or size label. Request close photos of the adjustment dials, stand joints, shoulder area, and pinnable surface. A missing knob can turn an adjustable model into a fixed one, and a bent base may be expensive to replace.
Check for smoke odor, moisture damage, and rust. Fabric-covered forms can absorb smells that are difficult to remove. A faint dusty scent may disappear with airing, but strong mildew is a practical reason to pass. Also check whether the pole locks securely at the chosen height. A form that slowly sinks during a fitting session will waste your time.
Local thrift shops, estate sales, Facebook Marketplace, and sewing guild swaps can offer better prices than a new retail model. Bring a tape measure if you can inspect the item in person. Spending $40 on a stable vintage form can be a great deal; spending $40 on one with a cracked base is not.
A simple first project
To learn your dress form, start with a thrifted button-up shirt. Wash and press it, place it on the form, and mark the center front, shoulder line, and side seams. Pin one adjustment at a time, baste it by hand, and try the shirt on before permanently sewing. This gives you a low-risk way to compare the form’s shape with your own body.
If the result looks perfect on the form but feels tight when worn, believe the fitting test. Add notes to your cover about where you need extra room, then pad that area gradually. With a few projects, the stand becomes a personalized fitting aid rather than a generic mannequin. That small upgrade can turn uncertain thrift finds into confident, wearable alterations.





No notes yet — write the first one.