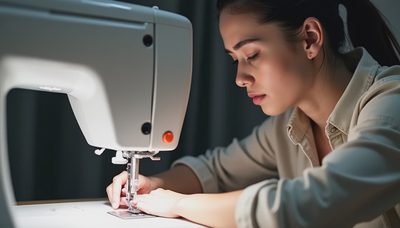
A sewing and quilting machine can be a brilliant addition to a thrifted-clothing toolkit, but choosing one can feel like opening a drawer full of unfamiliar presser feet, stitches, and mysterious buttons. No such thing as a stupid question here — let's walk through it. The best machine is not necessarily the most expensive model or the one with the longest stitch menu. It is the machine that handles your real projects, from shortening jeans to joining quilt blocks, without making you dread threading it.
If you mainly repair secondhand clothing, look for dependable straight stitching, adjustable stitch length, a useful zigzag, and enough power for several layers of fabric. If patchwork is your goal, a wider work area, accurate feeding, and a quarter-inch foot can matter more than decorative stitches. A sewing and quilting machine should support the way you actually create rather than sit untouched because setup feels complicated.
Start with Your Actual Projects
Before comparing brands, write down five projects you genuinely want to make. Your list might include hemming thrifted trousers, repairing a jacket lining, turning a tablecloth into a skirt, sewing tote bags, and making a small quilt. This list reveals more than a glossy product description.
For light garments and cotton patchwork, machines in the roughly $150 to $350 range often provide a sensible starting point. Models from Brother, Janome, Singer, and similar established brands commonly offer basic utility stitches, a free arm for sleeves, and straightforward speed controls. The exact model matters less than whether replacement needles, bobbins, feet, and service information are easy to find.
Heavy denim changes the conversation. A domestic machine can sew denim, but it still needs a suitable jeans needle, strong thread, a fresh bobbin, and sensible layer management. Do not expect a lightweight beginner machine to power through eight folded hems at full speed. I once forced a bulky denim seam under a small machine and ended up with skipped stitches and a bent needle. The fix was simple: hammer the thick ridge flat, use a hump jumper, and turn the handwheel slowly over the transition.
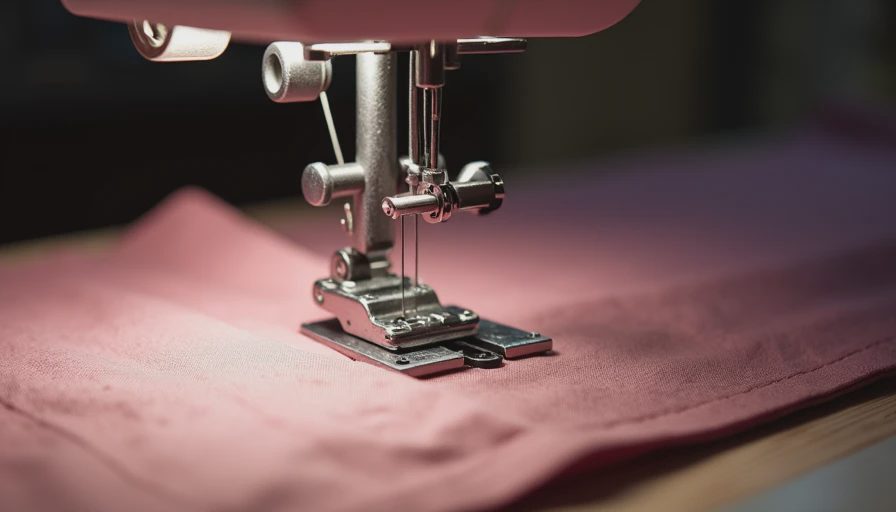
A secondhand sewing and quilting machine can also be a smart buy, especially if you can test it before paying. Bring a scrap of quilting cotton, a piece of denim, and a threaded bobbin. Listen for grinding, test reverse stitching, check that the needle moves evenly, and make sure the feed dogs rise and move the fabric. A machine priced at $50 is not a bargain if it needs a $120 repair immediately.
Features That Actually Help
Beginners often get distracted by 200 decorative stitches. In practice, most upcycling projects rely on a small core set. Straight stitch handles seams and topstitching. Zigzag finishes raw edges and gives a little flexibility to knits. A three-step zigzag can help with elastic, while a buttonhole function saves time when replacing worn shirts or coats.
A needle up or down setting is especially useful for quilting corners and pivoting around appliques. Adjustable presser-foot pressure helps when moving between slippery rayon, stable cotton, and stretchy jersey. A free arm makes cuffs and narrow pant legs easier to reach. An LED sewing light is not glamorous, but it is genuinely helpful when matching dark thread to black denim.
For quilting, prioritize a consistent feed system and a generous throat space. You do not need an enormous industrial-style opening for a first lap quilt, but extra room makes it easier to support a growing bundle of batting and backing. A walking foot can help feed multiple layers evenly, although it is often sold separately. Confirm that compatible feet are available before buying a machine with an unusual attachment system.
A computerized sewing and quilting machine can offer speed buttons, needle-position controls, and programmable patterns. Those conveniences are nice, but they do not replace correct threading or a sharp needle. A mechanical machine may be easier to troubleshoot because its controls are direct and its problems are often visible.
Mechanical or Computerized?
Mechanical models suit makers who want simple controls and fewer electronic features. You select the stitch with a dial, adjust length with another control, and sew. That straightforward layout is useful when learning because you can see what each adjustment does. It also appeals to people who repair clothes in shared studios, workshops, or spaces where a machine needs to be packed away regularly.
Computerized models are convenient for repeated quilting tasks. You can often set a precise stitch length, use a start-stop button, and control sewing speed without relying entirely on the foot pedal. Some models remember settings, which is handy when alternating piecing and quilting. The tradeoff is that electronic repairs can cost more, and a display error may be less obvious than a loose dial.
Neither type automatically creates better work. Test the controls in a store when possible, or watch several hands-on demonstrations that show threading, bobbin loading, and fabric feeding rather than only decorative stitching. If a machine feels awkward during those basic tasks, the frustration will multiply after a long afternoon of patchwork.
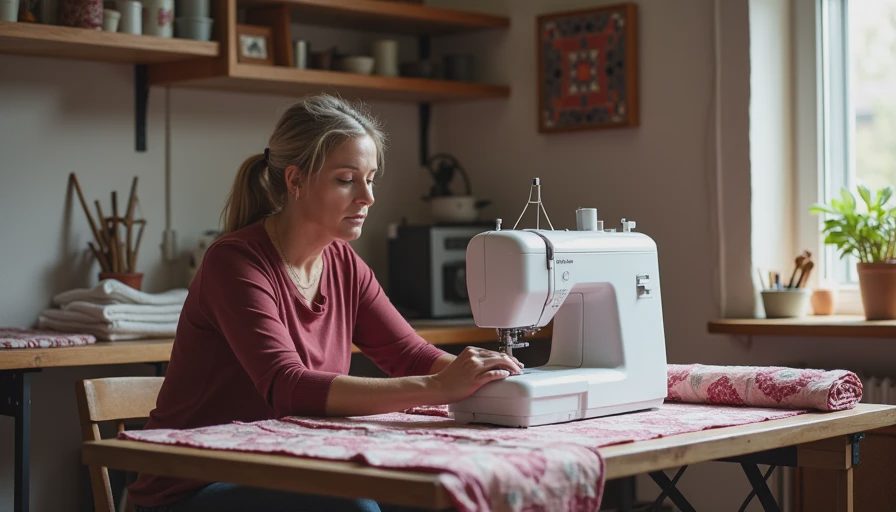
How to Test a Machine Before Buying
Use this short test sequence for a new or used machine:
- Thread it from the spool to the needle while following the manual. The thread should pass through every guide, including the take-up lever.
- Wind and insert a bobbin. Check that it spins in the direction shown by the machine instructions.
- Sew straight stitches on quilting cotton. Look for balanced tension, even stitches, and fabric that feeds without pulling.
- Try zigzag stitching, then test a folded denim edge with a jeans needle.
- Reverse for several inches. The reverse seam should not sound harsh or stall.
- Turn the handwheel toward you. It should rotate smoothly without scraping or catching.
- Inspect the presser feet, power cord, foot pedal, bobbin case, and needle plate for damage.
For a used sewing and quilting machine, ask whether the owner still has its manual and accessories. Missing feet can be replaced, but specialty parts sometimes cost enough to erase the original savings. A clean machine with a complete basic kit is usually a better purchase than a cheaper one covered in lint and missing its bobbin cover.
Build a Useful Starter Kit
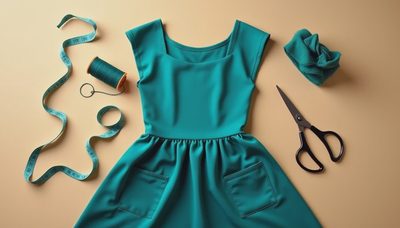
Budget another $35 to $80 for supplies instead of spending every dollar on the machine. Start with universal needles in sizes 70/10, 80/12, and 90/14, plus jeans needles for denim. All-purpose polyester thread is a practical choice for most clothing repairs. Add fabric scissors, a seam ripper, clips, a measuring tape, an iron, and a small pressing surface.
For patchwork, include a rotary cutter, self-healing mat, acrylic ruler, and quarter-inch foot if your machine accepts one. Pressing matters more than beginners expect: a carefully pressed seam can make imperfect blocks look far cleaner. Keep scraps organized by weight, not only color. A slippery blouse fabric and sturdy canvas should not be treated as interchangeable just because both are blue.
Clean lint from the bobbin area regularly and change needles when they become dull or bent. Read the manual before oiling; some modern machines should not be oiled by the owner. If stitches suddenly look uneven, rethread with the presser foot raised, replace the needle, and test on scrap before adjusting tension.
Make the Purchase Fit Your Practice
The right sewing and quilting machine should make a thrift-store find feel more usable, not turn sewing into a technical exam. Choose dependable utility stitches over a crowded menu, confirm that accessories are available, and leave room in the budget for needles and thread. For a first machine, a reliable $200 model that you use weekly beats a $700 machine that intimidates you.
Start with one small project: hem a pair of jeans, repair a pocket, or piece a cushion cover from fabric scraps. Record which features helped and which slowed you down. After a few projects, you will know whether you need a larger quilting space, stronger layer handling, or computerized controls. That experience is more valuable than any shopping list, and it gives you a clear path toward a machine you will actually keep using.
No notes yet — write the first one.