Sewing machine tension problems can make a perfectly good thrifted shirt look like it was attacked by a tiny bird. You might see loose loops underneath, thread nests on top, puckered seams, or thread that snaps every few inches. No such thing as a stupid question here — let’s walk through it. Most tension issues are not caused by a broken machine, and you can often fix them with a careful rethreading and a few test stitches.
What sewing machine tension actually controls
A lockstitch forms when the upper thread and bobbin thread meet inside the fabric. Tension controls how firmly those threads pull against each other. When the balance is right, the threads lock near the middle of the fabric, leaving a neat line on both sides. When the balance is wrong, one thread pulls too hard and drags the other to the top or bottom.
Before turning a tension dial, identify which side looks wrong. Loops underneath usually point to an upper-thread issue, such as incorrect threading, a presser foot that was down during threading, or upper tension set too low. Loops on top can indicate a bobbin that is not seated correctly or upper tension set too high. This is a useful starting point, but it is not a perfect diagnosis for every machine.
The number printed on the dial is not a universal measurement. A setting of 4 on a Brother machine may not behave exactly like 4 on a vintage Singer. Think of the dial as a range, not a promise. Small changes, followed by test sewing, are safer than turning from 3 to 9 and hoping for a miracle.
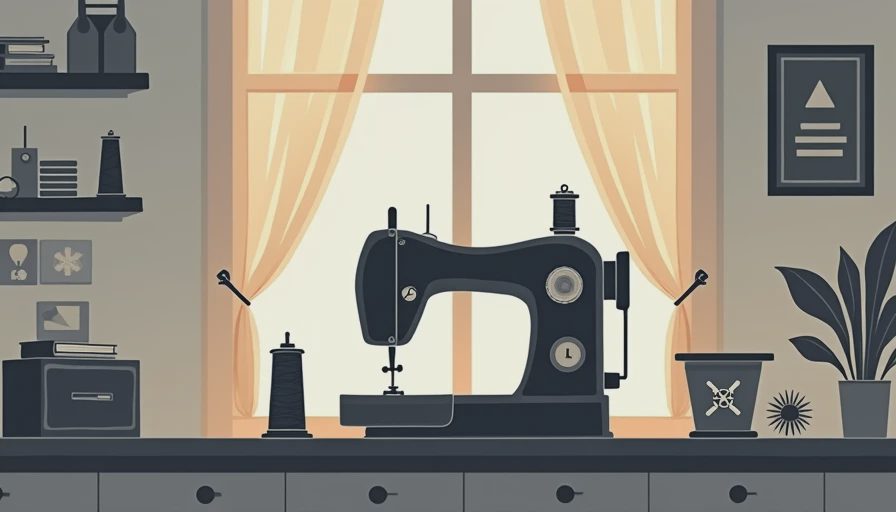
Sewing machine tension problems: the five-minute reset
Here’s what went wrong + how I fixed it on a secondhand machine: the upper thread had slipped out of one guide, but the dial looked completely normal. The machine produced a messy underside, so the first instinct was to adjust tension. That only hid the real problem for a few stitches.
Use this reset before changing settings:
- Remove the upper thread completely. Raise the presser foot so the tension discs open, then rethread the machine from the spool through every guide and take-up lever.
- Remove and reinstall the bobbin according to the machine’s diagram. Check that the thread unwinds in the correct direction and passes through the bobbin-case slot.
- Insert a new needle. A universal size 80/12 works for many medium-weight cottons, while denim, canvas, and thick seams need a stronger, appropriate needle.
- Clean lint from the bobbin area with a small brush. Do not use canned air, which can push lint deeper into the machine.
- Set the upper tension to the manual’s normal starting point, often around 4, and test on a folded scrap of the same fabric.
If the stitches improve after this reset, the problem was probably threading, the bobbin, lint, or a damaged needle rather than the tension dial itself. That is good news because these fixes cost little or nothing.
Read the stitches before touching the dial
Sewing machine tension problems are easier to solve when you inspect both sides of the test sample. Sew a line at normal speed, then another line slowly. If the underside has loose loops but the top looks tidy, rethread the upper path with the presser foot raised. If the loops remain, increase upper tension one small step at a time.
If the top thread is being pulled down and the bobbin thread is visible on top, the upper tension may be too tight, or the bobbin thread may not be feeding correctly. Lower the upper tension slightly and confirm that the bobbin is inserted properly. Never start by tightening the bobbin-case screw unless you have documented its original position and understand your machine’s design.
Puckering is another common complaint. It can come from excessive tension, a stitch length that is too short, fabric that is being pulled while sewing, or stabilizer that is missing from a delicate material. On lightweight rayon or vintage polyester, try a fresh fine needle, a longer stitch around 2.5 to 3 mm, and lighter handling before making major adjustments.
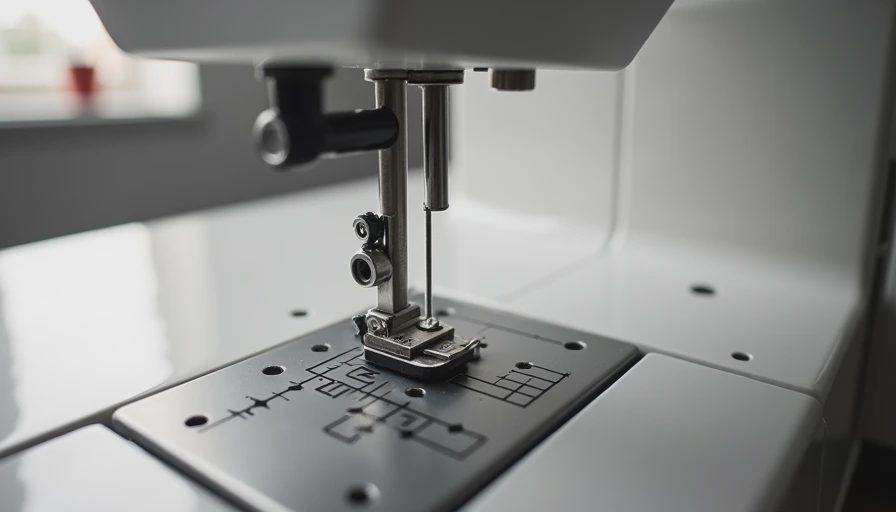
Match the thread, needle, and fabric
A machine can appear to have sewing machine tension problems when the real mismatch is between supplies. Heavy upholstery thread in a standard home machine creates more resistance than ordinary all-purpose polyester thread. A thick denim needle used on silk can leave oversized holes and disturb the seam. Old bargain thread can also become brittle, shed lint, and snap under normal pressure.
For most upcycling projects, a quality all-purpose polyester thread from brands such as Gutermann or Coats is a practical starting point. Use a universal 80/12 needle for quilting cotton and medium woven fabric, a 70/10 or 75/11 for lighter fabric, and a jeans or denim needle for heavier layers. The exact choice depends on the fabric and machine, so test before sewing the final garment.
Thread should also match in weight. Combining fine upper thread with heavy bobbin thread can create an uneven pull. Decorative or metallic thread may require a larger needle, slower speed, and reduced upper tension. Follow the thread manufacturer’s guidance when available instead of assuming the ordinary setting will work.
When the bobbin is the real culprit
Many sewing machine tension problems are blamed on the upper dial because it is easy to see. The bobbin deserves equal attention. A bobbin wound unevenly can wobble as it spins, causing inconsistent stitches. Stop winding when the thread reaches the bobbin’s proper fill line; forcing on extra thread can make the case drag.
Check for these clues: the bobbin has dents, the thread crosses over itself, the case is packed with lint, or the bobbin is the wrong type for the machine. Plastic and metal bobbins are not always interchangeable, even when they look similar. Use the size specified in the manual. A poorly fitting bobbin can produce skipped stitches and loops that no dial adjustment will permanently cure.
If the bobbin tension seems suspicious, place the bobbin in its case and pull the thread gently. It should offer steady resistance rather than dropping freely or refusing to move. Avoid the popular “drop test” as a universal rule because bobbin-case designs differ. If cleaning and correct installation do not help, a sewing-machine technician can inspect the case without turning a small problem into a larger one.
A practical test plan for thrifted machines
When I bring home a used machine, I do not test it first on a finished jacket. I use six-inch scraps from cotton, denim, and a lightweight fabric. This makes sewing machine tension problems easier to compare across materials.
Start with straight stitches at a medium length. Then test zigzag stitches, backstitching, and a few layers of the heavier fabric. Write down the dial setting, needle size, thread brand, and result. If straight stitching works on cotton but fails on denim, the machine may need a stronger needle or slower speed rather than a tension repair.
Inspect the presser foot, feed dogs, needle plate, and handwheel. A scratched needle plate can catch thread, while clogged feed dogs can make fabric advance unevenly. If the needle strikes metal, stop immediately and replace it. Continuing can bend the needle, damage timing, or create another source of stitching trouble.
When adjustment is not enough
Persistent sewing machine tension problems can indicate a timing issue, worn tension discs, a damaged bobbin case, or a machine that needs lubrication and professional service. Warning signs include thread shredding despite correct threading, skipped stitches on several fabrics, needle strikes, grinding sounds, or tension that changes without touching the dial.
For a basic modern machine, service might cost roughly $75 to $150, depending on location and the work required. A vintage machine can be worth repairing when it has a sturdy metal body and parts are available, but compare the estimate with the machine’s purchase price. Do not disassemble tension assemblies casually; tiny springs and discs are easy to reinstall incorrectly.
The best fix is usually methodical: rethread, reinstall the bobbin, change the needle, clean lint, match supplies, and test one adjustment at a time. Once the stitches look balanced on both sides, mark that setting for the fabric you are using. Your rescued flannel, vintage skirt, or thrifted denim project deserves a calm test seam before the scissors come out.

No notes yet — write the first one.