Reverse applique is one of those sewing techniques that looks complicated until you see the layers from the side. Instead of stitching a shape onto the surface, you place fabric underneath and cut through the top layer so the lower color appears through the opening. It is especially useful for refreshing a thrifted sweatshirt, hiding a small stain, or adding a graphic detail without buying new fabric. No such thing as a stupid question here — let’s walk through it.
What reverse applique actually does
Traditional applique adds a fabric shape on top of a base. Reverse applique flips that arrangement. You stack two or more fabrics, secure them, cut a design through the upper layer, and finish the raw edges so the lower layer shows. The result can look crisp and graphic, or soft and worn-in depending on the fabrics and thread.
A cotton T-shirt under a denim jacket is a good first project because both fabrics are easy to find and inexpensive. For a more vintage effect, try a faded flannel under a canvas tote. The contrast does not have to be dramatic. Olive over cream, rust over charcoal, or two shades of blue can create a subtle detail that looks intentional rather than homemade.
The technique works by hand or machine. Hand stitching gives you control around small curves, while a sewing machine is faster on larger designs. A universal needle, sharp fabric scissors, washable marking pen, and two fabric scraps are enough to begin. If you own a small rotary cutter, an Olfa-style mat and ruler can make straight openings cleaner, but they are not required.
Before cutting anything valuable, practice reverse applique on a pocket, old T-shirt, or fabric remnant. Your first shape does not need to be perfect. A slightly uneven edge often suits a secondhand garment better than a rigid, computer-perfect motif.
Choosing fabric and preparing the garment
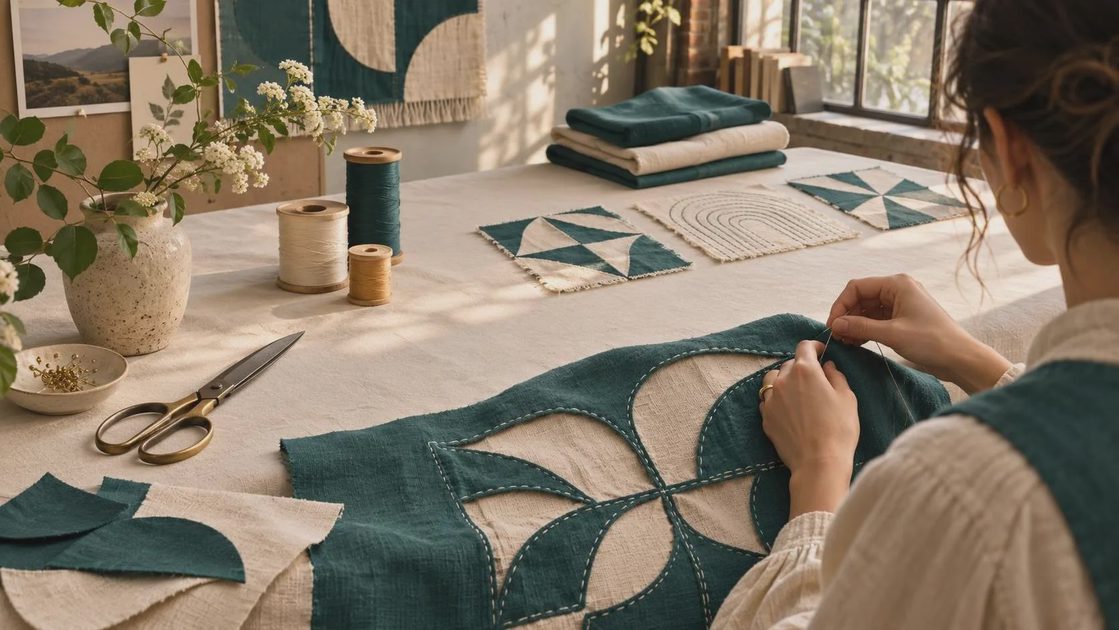
Start with a garment that has enough flat space for your design. Avoid placing the first project directly over a side seam, zipper, pocket opening, or stretchy ribbing. A chest panel, jacket back, tote front, or sweatshirt sleeve is easier to control. Wash and dry the garment first, following its care label, because later shrinkage can pucker the stitched area.
Choose a backing fabric with a stable weave. Quilting cotton, lightweight denim, flannel, and woven scraps are beginner-friendly. Very slippery satin can shift, while heavy upholstery fabric may make the area stiff. For a knit garment, a lightweight knit backing usually moves more naturally than woven cotton, though woven fabric can work if you stabilize the area with a small piece of fusible interfacing.
Draw the design on paper before touching the garment. Simple moons, leaves, diamonds, lightning bolts, and abstract windows are forgiving. Keep narrow points and tiny interior holes to a minimum until you understand how your fabric behaves. Trace the design onto the garment using a washable pen, then place the backing fabric behind it with the right side facing outward through the planned opening.
Pin from the center outward, or use a temporary fabric adhesive sparingly between layers. Too much glue can gum up a needle. Basting with long stitches around the design is slower but dependable, especially on a stretchy thrifted shirt.
How to sew reverse applique step by step
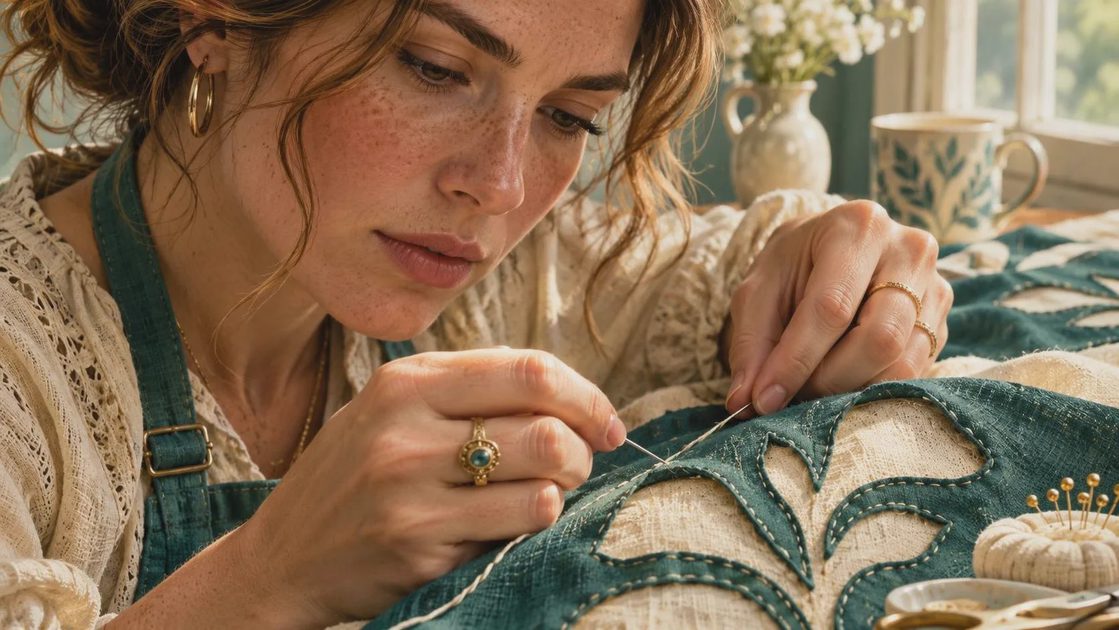
First, secure the two layers with a line of stitching just inside the marked design. A short straight stitch works on stable fabric. On knits, a narrow zigzag or stretch stitch helps prevent broken threads when the garment flexes. Sew slowly and leave enough room outside the design for trimming.
Next, cut only the upper garment layer. Begin in the center of the shape with a small snip, then carefully work toward the stitched line. Do not push the scissor tip through both layers. Keeping the lower fabric intact is the whole point of reverse applique, and one accidental cut can turn a simple repair into a patch job.
Trim the top layer close to the stitching, leaving roughly one-eighth inch of fabric beyond the seam. Around curves, make tiny clips toward the seam without cutting through it. For a raw-edge look, stop here and allow the fabric to fray slightly. For a cleaner finish, fold the upper edge under with a needle or cover it using a satin stitch or tight zigzag.
Finally, press from the wrong side with a pressing cloth. Test the iron temperature on a scrap first, particularly when working with polyester, printed fabric, or a vintage garment. Hand wash or turn the item inside out for the first few washes so you can see whether the edges remain flat.
Here’s what went wrong and how to fix it
The most common reverse applique mistake is cutting before the layers are secured. If the backing fabric shifts, the opening may reveal a corner of bare garment. Fix a small gap by placing a new scrap underneath, extending beyond the hole, and stitching around the existing design. If the opening is large, turn the accident into a planned window by repeating the shape nearby.
Puckering usually comes from tight stitches, fabric tension, or pressing the garment while it is stretched. Remove the worst section if necessary, then resew with a slightly longer stitch and support the garment on a flat surface. A stabilizer behind thin knit fabric can make a major difference. Do not keep sewing over a wrinkle hoping it will disappear; extra thread usually locks the wrinkle in place.
If the edge frays more than expected, use a narrow zigzag around the opening or add a second row of stitching. Fraying is not automatically a failure. On a faded denim jacket, a little texture can make the repair blend with the garment’s existing wear.
Design ideas for thrifted clothing
Reverse applique is practical beyond decoration. Use a dark backing fabric to cover a bleach spot on a hoodie, or add a bright lining behind a moth-damaged wool blend after stabilizing the area. A small embroidered star can disguise a pinhole, while a row of repeated arches can refresh the front of a plain canvas bag.
For a coordinated outfit, repeat the same backing fabric on two items. A rust-colored scrap inside a jacket opening can echo the color of a scarf, socks, or vintage skirt. You can also use fabric from an unwearable garment, such as the intact hem of a damaged shirt, so the repair carries a little history with it.
Keep scale in mind. One opening about three inches wide is easier to finish than a giant chest graphic. If you want a larger design, divide it into separate shapes with enough fabric between them to preserve the garment’s strength. This approach also makes the project easier to repair later.
Finishing, washing, and building confidence
After completing reverse applique, inspect the wrong side for loose thread tails and skipped stitches. Knot hand-sewn threads securely, then trim them instead of leaving long ends that can catch on jewelry or another garment. If the piece will be washed often, reinforce corners and points with a few extra stitches rather than relying only on the main outline.
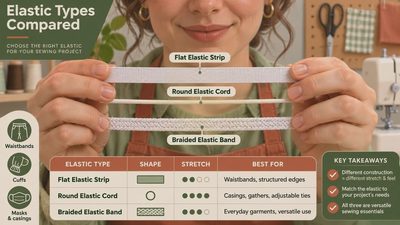
Wash according to the most delicate fabric in the project. Cold water and a gentle cycle are safer for mixed layers, and air drying reduces stress on old elastic and fragile thread. Store the garment flat if the stitched area is heavy. With practice, you can combine reverse applique with visible mending, embroidery, sashiko-inspired lines, or fabric dye for a piece that looks collected over time.
The best first project is one you already consider imperfect. That takes away the pressure and lets you learn how your scissors, thread, and machine behave. Start small, test on scraps, and expect one odd corner. A crooked stitch is useful information, not a reason to quit. Once you understand the layers, reverse applique becomes a friendly way to rescue clothes and make secondhand finds feel completely yours.

No notes yet — write the first one.