If you've been searching for a halter top sewing pattern that won't leave you confused, you're in the right place. No such thing as a stupid question here. A halter top is one of the most forgiving projects you can sew, and you can make it with thrifted fabric, an old bedsheet, or a scarf you no longer wear.
Why a Halter Top Is the Perfect First Sewing Project
Halter tops have a simple shape that works with almost any body type. A typical halter top sewing pattern uses only a few pattern pieces, so there's less cutting and less confusion. Most halter styles tie around the neck and back, so you don't have to deal with zippers or buttons. That makes the project feel like a fun afternoon, not a stressful job.
Another reason to start here is fabric. A halter top needs less than a yard of fabric, so you can use a remnant from a thrift store for under five dollars. If you mess up, you haven't ruined an expensive piece. Just try again with a different fabric.
What You Need Before You Cut
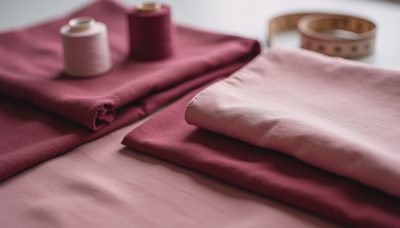
Before you buy a halter top sewing pattern, check the fabric requirements on the envelope or PDF. You want a fabric with some drape, like cotton voile or rayon. Avoid stiff denim unless you're going for a structured look. You'll also need fabric scissors, straight pins, a measuring tape, and a sewing machine. If you're hand sewing, a simple running stitch works fine.
Patterns are easy to find secondhand. Thrift stores and resale apps often have uncut envelopes for a dollar or two. Look for Big Four brands like Simplicity and McCall's, or indie PDF patterns. For your first project, avoid anything marked "fitted" until you're comfortable with adjustments.
How to Pick the Right Halter Top for You
There are several halter styles. A triangle halter gathers to a point and ties behind the neck. A tie-neck halter crosses and ties at the neck for more support. A shelf bra halter includes a built-in band, so it's a bit more sewing but still beginner-friendly. If you're thrifting, a vintage halter top sewing pattern from Simplicity or McCall's works just as well as a new one, but check the size ranges since vintage sizes run small.
For your first make, pick a pattern with adjustable straps. The ability to tie the back or neck gives you wiggle room if your seam allowances are off. That forgiving design saves you from frustration.
Step-by-Step: Sewing Your Halter Top
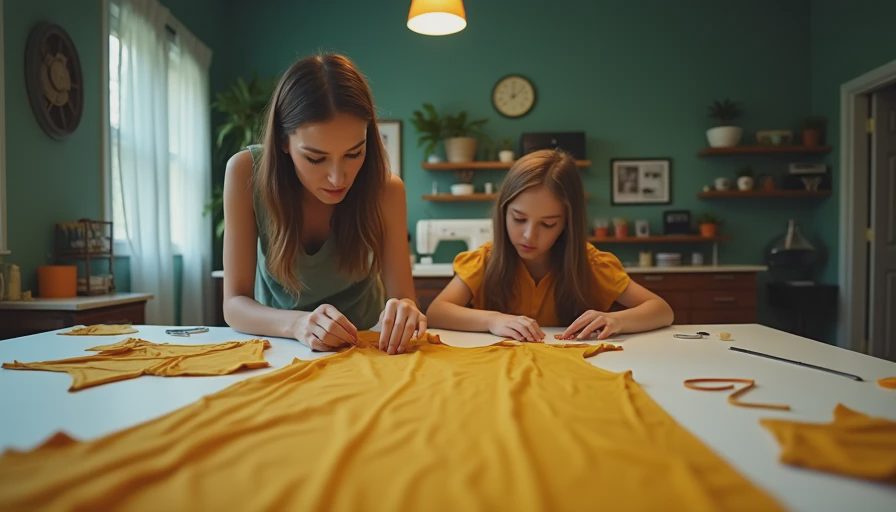
First, wash and press your fabric so it doesn't shrink later. Lay out the pattern pieces on the grainline and pin them in place. Cut carefully, then mark the center front and strap attachment points.
Next, sew the side seams. For a gathered halter, run a basting stitch along the top edge, pull the thread to gather, and tie off. Attach the neck strap by folding it in half, sewing along the edge, and turning it right side out. Use a safety pin to pull the strap through the casing or attach it at the marked points.
Finally, finish the raw edges with a zigzag stitch or bias tape. For the bottom, a double-fold hem looks neat. Try on the halter inside out. If it gapes, take in the side seams a little. If the strap pulls, lengthen it slightly.
Here's What Went Wrong and How I Fixed It
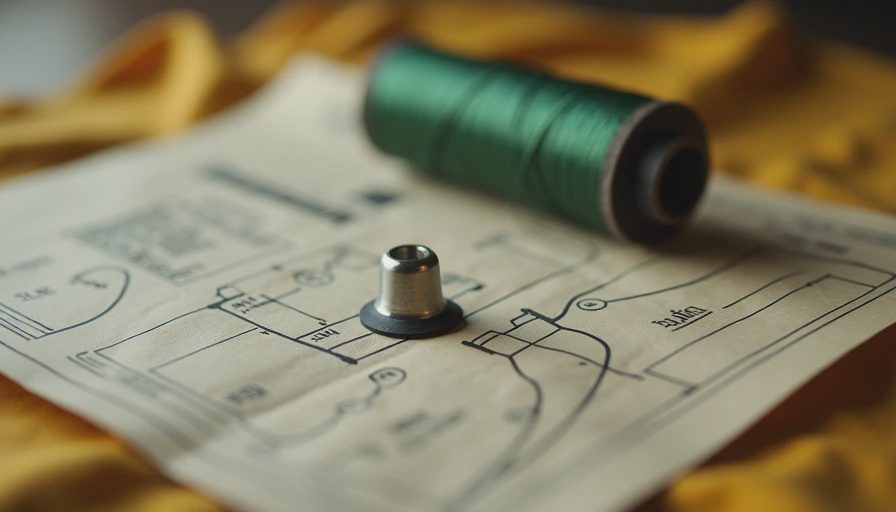
My first halter had a twisted neck strap. I had sewn the strap without turning the fabric evenly, so the seam twisted to the front. I unpicked it, pressed it flat, and sewed it again with the seam centered. Huge difference.
Another issue is the back riding up. If your halter top sewing pattern has a low back, the fabric can curl. Add a small piece of clear elastic along the back edge, or shorten the straps by half an inch. Using a walking foot also helps prevent stretching.
Don't panic when something looks off. Most halter top problems are quick fixes. Grab your seam ripper and try again.
Turn a Thrifted Find Into a Halter Top
If you want to skip buying a new halter top sewing pattern, refashion a thrifted maxi dress or an oversized shirt. Lay the garment flat and place the halter pattern pieces on top. You might be able to cut the straps from the original hem, so you don't have to sew hems.
I once made a halter from a four-dollar thrift store sundress. The existing hem gave the bottom a clean edge. I just cut the pattern pieces and sewed the side seams. The project took under two hours.
This saves money and keeps fabric out of landfill. Plus, you get a one-of-a-kind piece.
A Few Final Tips
Keep your seam allowances consistent, since a quarter-inch difference everywhere adds up. Press every seam as you go, and try the halter on before hemming.
Remember that a halter top sewing pattern doesn't have to be expensive. Digital patterns cost three to fifteen dollars, and thrifted paper patterns are often under two. With less than a yard of fabric, your total cost can be under ten dollars.
So grab a simple halter top sewing pattern, pick out some fun fabric, and give it a try. You'll be surprised how quickly you can make something you want to wear. And if you get stuck, remember there's no such thing as a stupid question here.


No notes yet — write the first one.